SQL Server 2014 SP1 with no cumulative update is being installed as
the SCCM database. For Supported versions of SQL Server check TechNet here
The initial install is SQL RTM.
Run the setup.exe
Install a new stand-alone installation of SQL 2014.
Enter a product key for SQL and click Next.
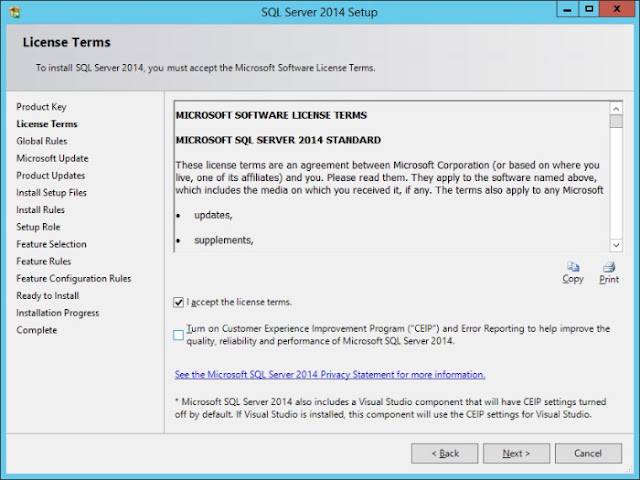
Accept the licence agreement and click Next.
At this stage you can opt to turn on Windows Updates for SQL. Click Next.
Address any Install Rules that need resolving. Click Next.
Choose ‘SQL Server Feature Installation’ so the install can be customised and click Next
Select Database Engine Services>Full-Text and Semantic Extraction for Search and Management Tools – Basic and Complete. Change any install paths for SQL at this stage. Click Next.
Choose the Default Instance and click Next.
Select any accounts to run the SQL services. Note that using a named account for SQL services will require a SPN creating in AD (see Optional configurations here).
Click the Collation tab and then the Customize button.
Choose the ‘SQL Collation, used for backwards compatibility’ option and choose SQL_Latin1_General_CP1_CI_AS. Click Ok. Click Next.
Use Windows authentication and Add the current user. Click Next.
NOTE : ADD min of 2 Users created in Active Directory.
Click Install to begin the installation process.
Click Close when complete


No comments:
Post a Comment